Human Setup Tutorial
A screenshot-first guide for setting up ChatGPT2LocalBridge without exposing private paths, tokens, or unlock codes.
1. Initialize local policy
Pick the workspace root ChatGPT is allowed to access. Start narrow, then expand later.
npx github:harzva/chatgpt2localbridge init --root ~/Projects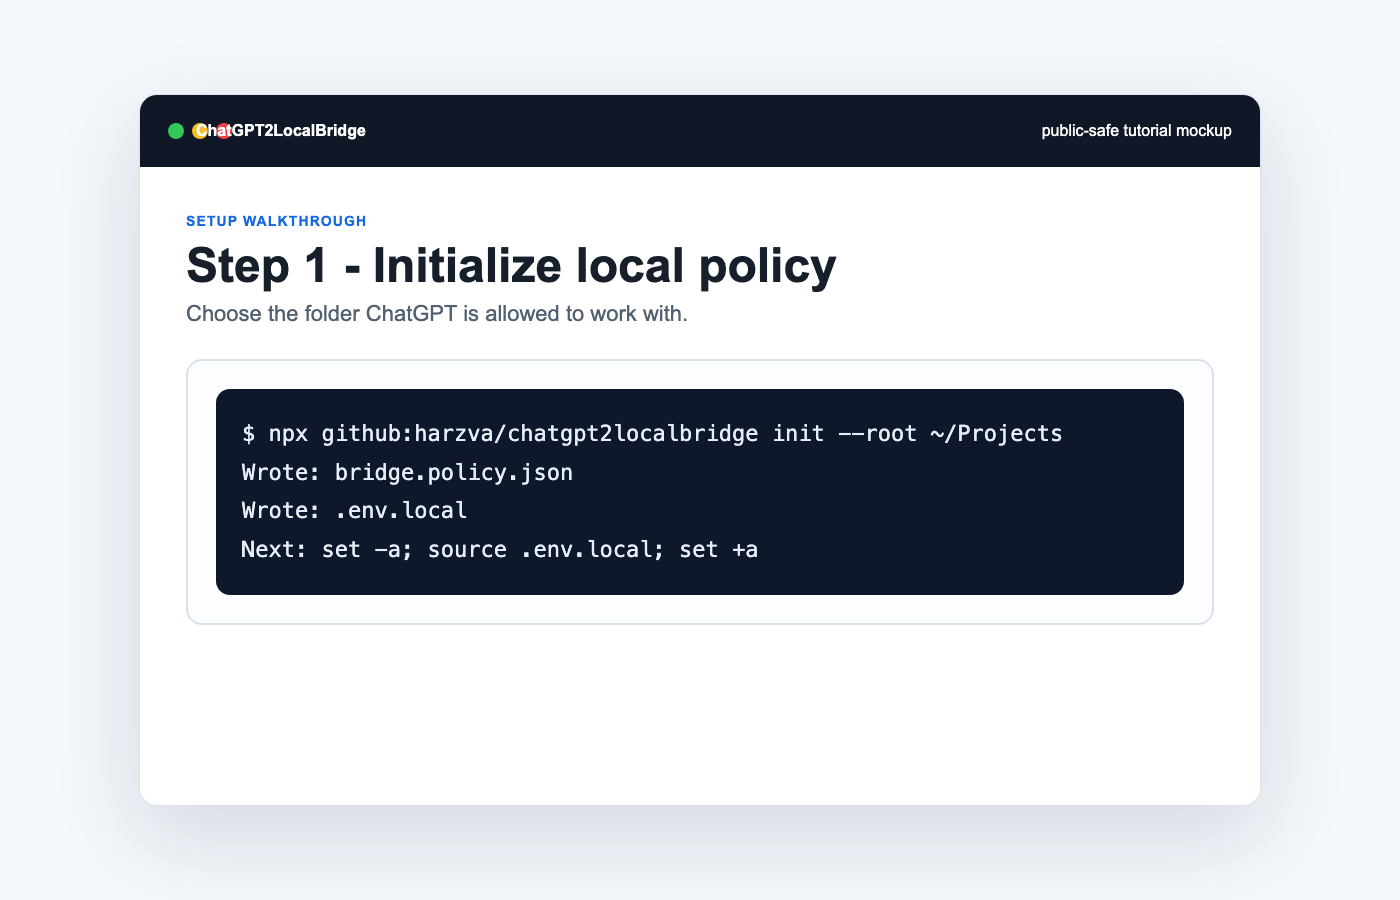
2. Run the local MCP server
Load the generated environment file and start the local HTTP transport.
set -a; source .env.local; set +a
npx github:harzva/chatgpt2localbridge --http 3838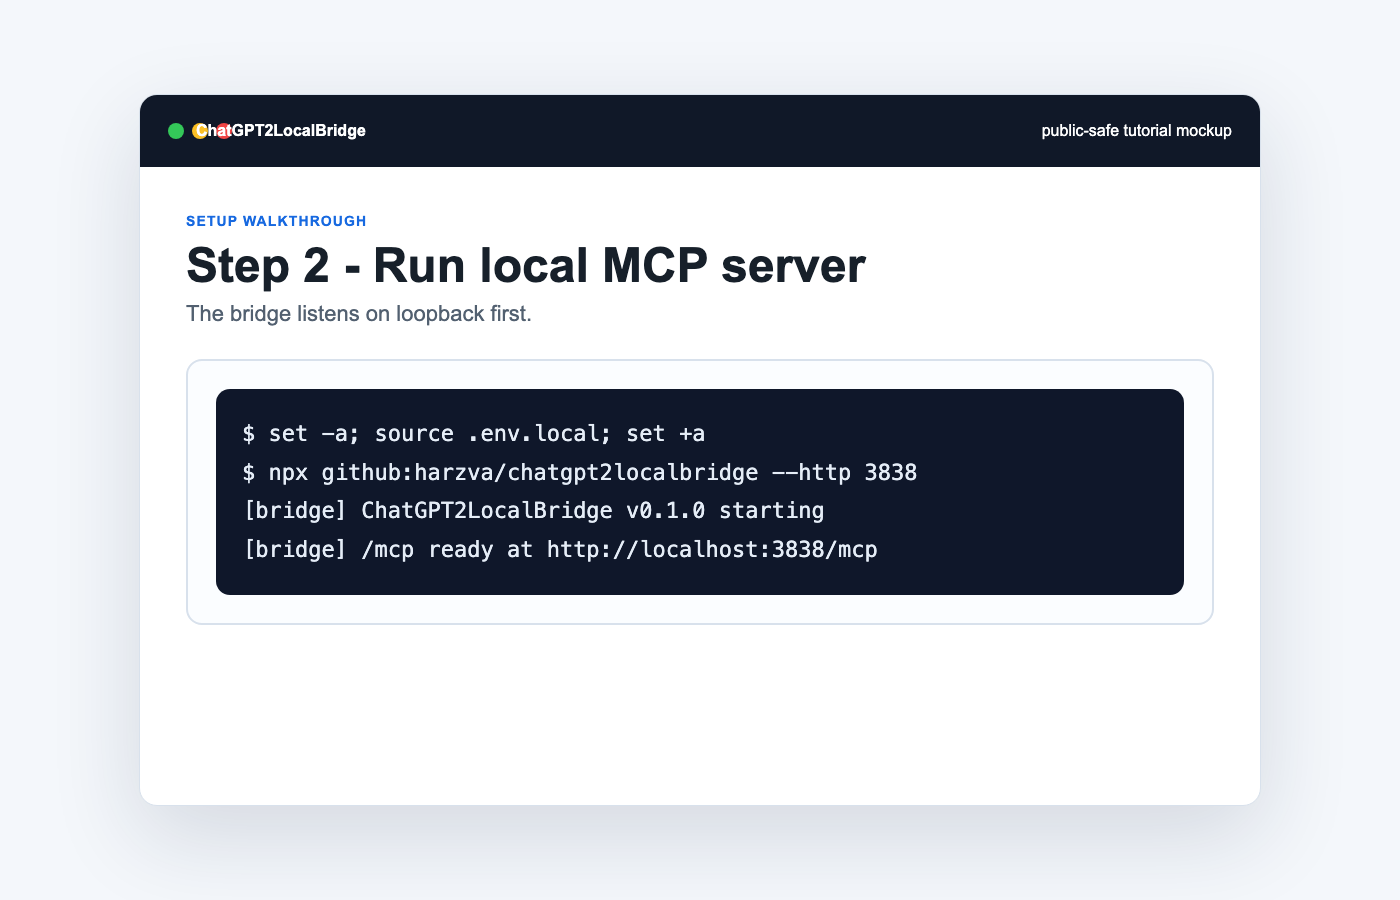
3. Check health
The local health endpoint should return `status: ok` before you expose the bridge.
curl -sS http://127.0.0.1:3838/health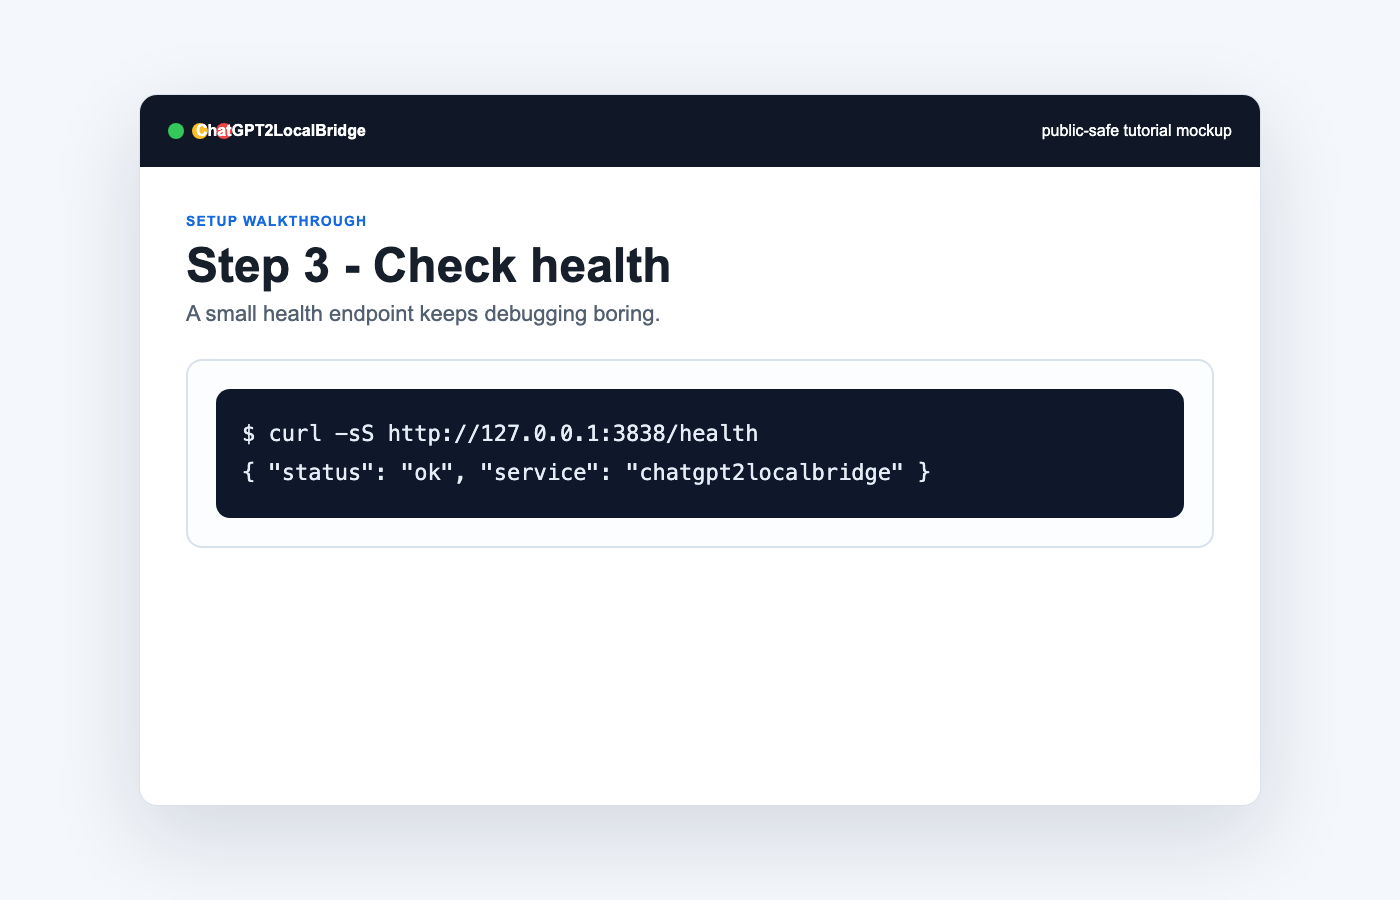
4. Expose a public HTTPS tunnel
Hosted ChatGPT needs an HTTPS URL. Use a fixed tunnel domain when you want the connector to survive restarts.
ngrok http 3838 --url=your-fixed-domain.ngrok-free.dev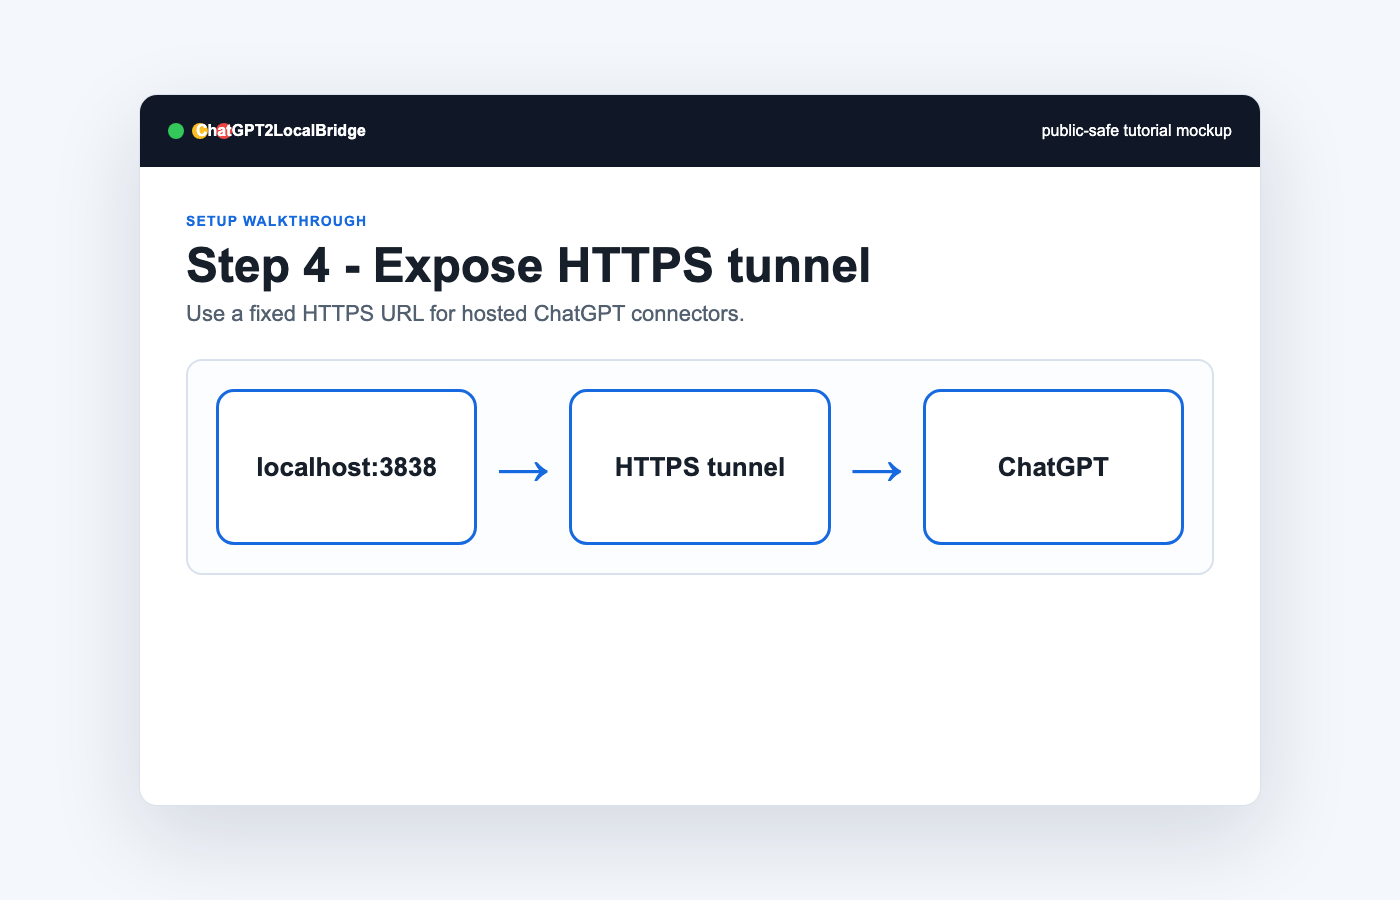
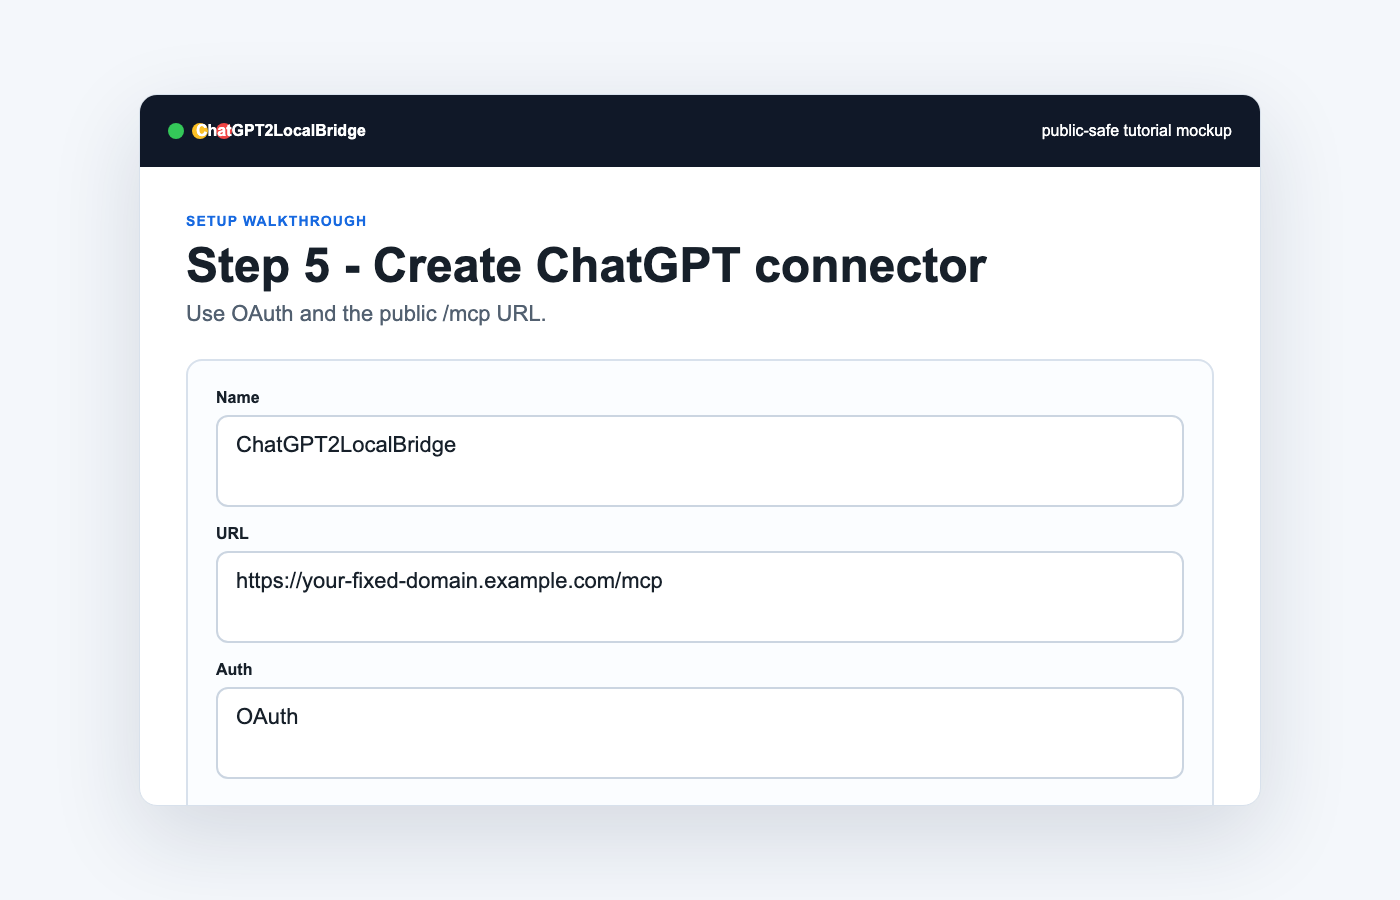
5. Create the ChatGPT connector
In ChatGPT connector settings, create a custom connector and use the public `/mcp` URL. Choose OAuth.
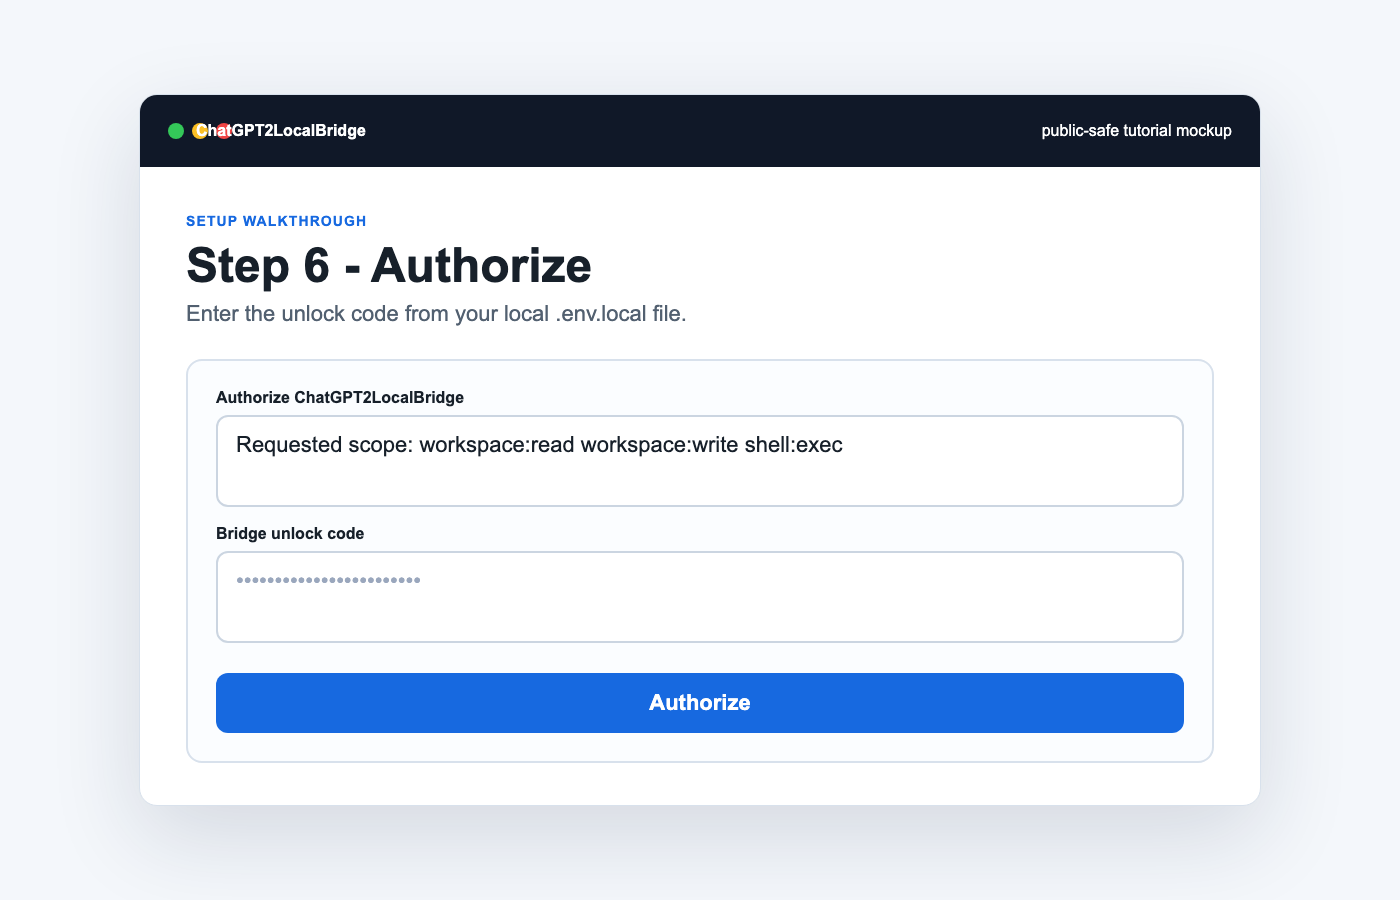
6. Authorize
When the authorization page opens, enter the unlock code from `.env.local`. Do not paste that code into public chats or screenshots.
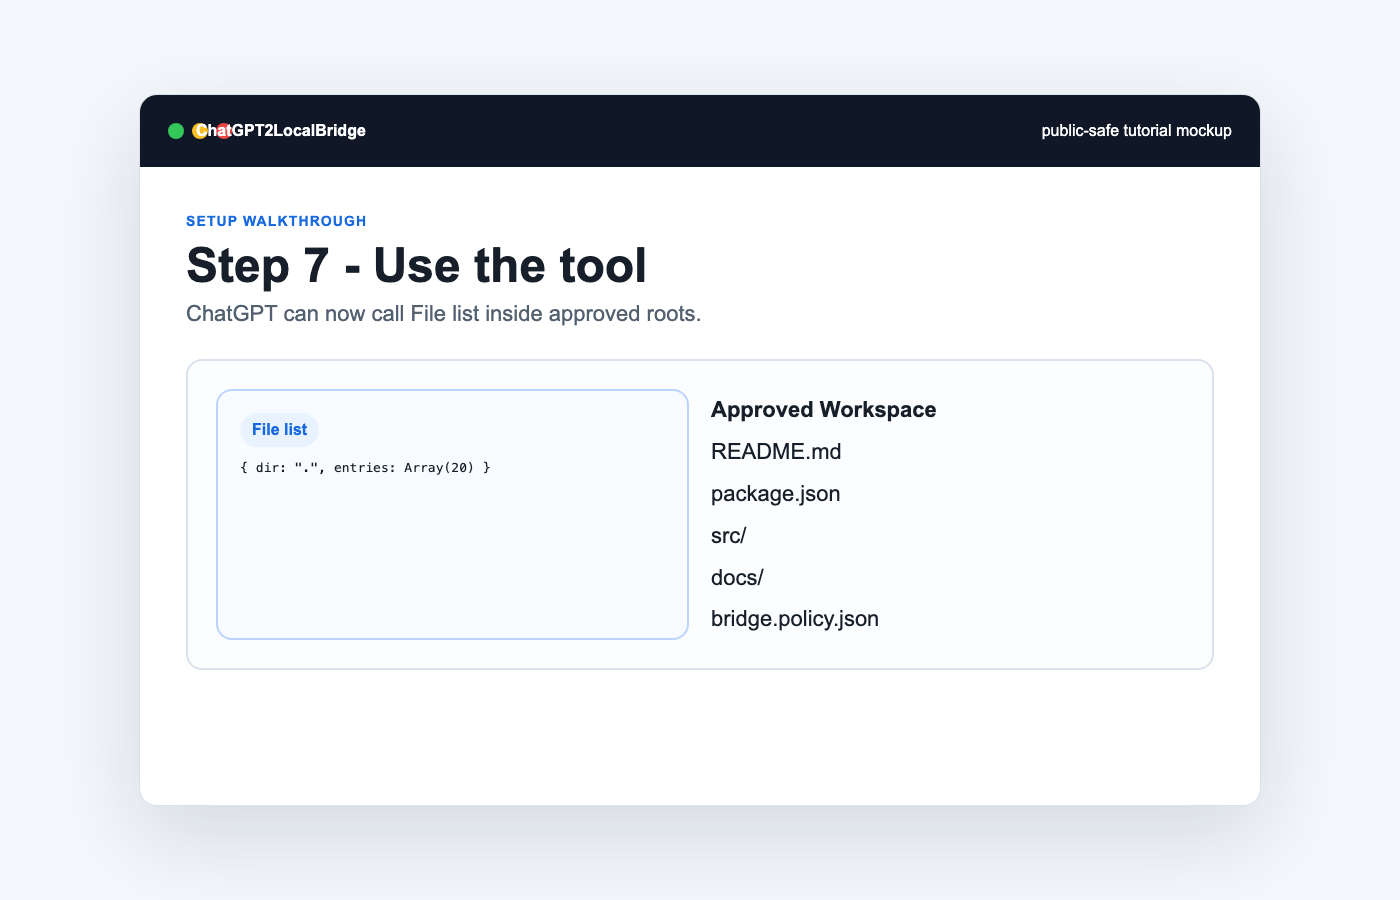
7. Use the connector
Select the ChatGPT2LocalBridge connector in ChatGPT, then ask it to list or read files inside your approved workspace.